WindowsへNode-RED導入
raspberry piに最初から入っているデータ加工ツールであるNode-REDをwindows端末にインストールしてみたいと思います。
参考サイト
公式サイトからwindows向けの導入ページを確認します。
https://nodered.org/docs/getting-started/windows
手順としては以下の3つです。
- Node.jsをインストールする
- Node-REDをインストールする
- Node-REDを起動する
Node.jsのインストール
以下のNode.jsのサイトからNode.jsをインストールします。
今回はバージョン10.16.3をインストールします。
上記サイトからダウンロードしたmsiファイルを実行します。
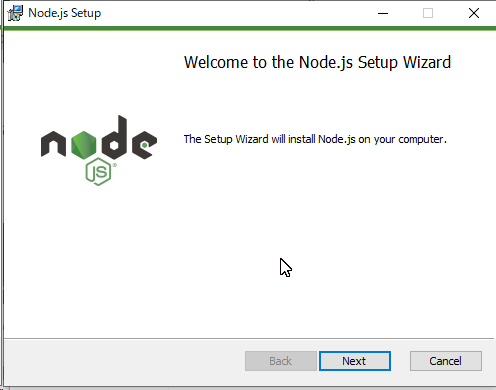
Nextを押します。
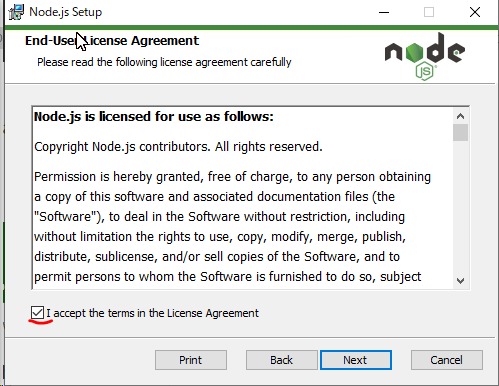
I accept the terms in theLicense Agreementのチェックボックスにチェックを入れてNextを押します。
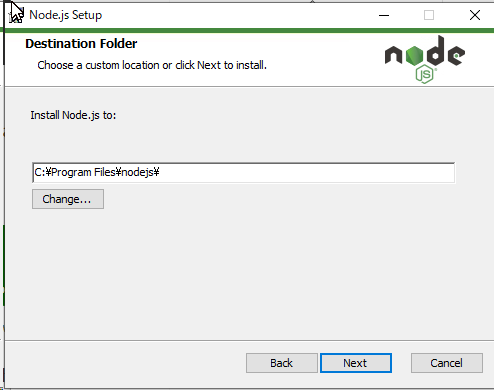
インストール先を選択してNextを押します。(今回はデフォルトのままにします)
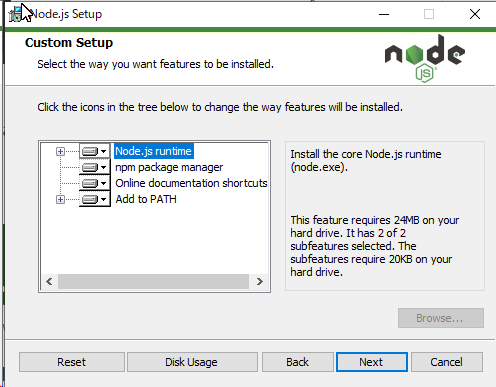
Custiom SetupについてもデフォルトのままでNextを押します。
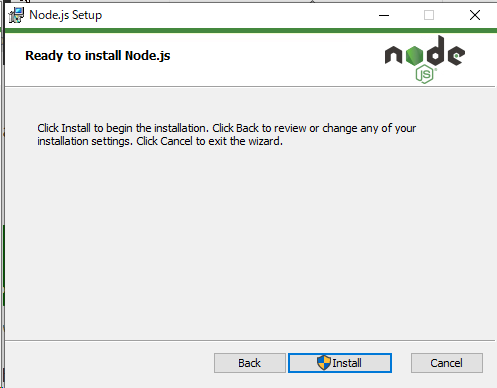
Ready to install Node.jsの画面が出るのでInstallを押します。
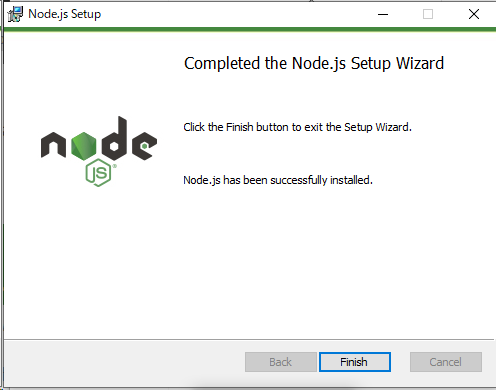
処理が完了したらFinishを押して完了です。
最後に、npmを使えるように環境変数にパスを通しておきます。
追加パス
C:\Program Files\nodejs
Node-REDのインストール
コマンドプロントを管理者権限で起動し、以下のコマンドを実行します。
npm install -g --unsafe-perm node-red# 結果
C:\WINDOWS\system32>npm install -g --unsafe-perm node-red
C:\Users\user\AppData\Roaming\npm\node-red -> C:\Users\user\AppData\Roaming\npm\node_modules\node-red\red.js
C:\Users\user\AppData\Roaming\npm\node-red-pi -> C:\Users\user\AppData\Roaming\npm\node_modules\node-red\bin\node-red-pi
> bcrypt@3.0.6 install C:\Users\user\AppData\Roaming\npm\node_modules\node-red\node_modules\bcrypt
> node-pre-gyp install --fallback-to-build
node-pre-gyp WARN Using request for node-pre-gyp https download
[bcrypt] Success: "C:\Users\user\AppData\Roaming\npm\node_modules\node-red\node_modules\bcrypt\lib\binding\bcrypt_lib.node" is installed via remote
+ node-red@1.0.0
added 331 packages from 341 contributors in 105.773sNode-REDの起動
以下のような場所にnode-red.cmdというものが生成されていますので、コマンドプロンプトを起動してそれを叩きます。(userというユーザープロファイルの場合)
node-red.cmdの場所が分からない場合はエクスプローラの検索などで探してみてください。
C:\Users\user\AppData\Roaming\npm\node-red

2 Oct 22:26:46 - [info]

Welcome to Node-RED
===================

2 Oct 22:26:46 - [info] Node-RED version: v1.0.0
2 Oct 22:26:46 - [info] Node.js  version: v10.16.3
2 Oct 22:26:46 - [info] Windows_NT 10.0.17763 x64 LE
2 Oct 22:26:56 - [info] Loading palette nodes
2 Oct 22:27:17 - [info] Settings file  : C:\Users\user\.node-red\settings.js
2 Oct 22:27:17 - [info] Context store  : 'default' [module=memory]
2 Oct 22:27:17 - [info] User directory : C:\Users\user\.node-red
2 Oct 22:27:17 - [warn] Projects disabled : editorTheme.projects.enabled=false
2 Oct 22:27:17 - [info] Flows file     : C:\Users\user\.node-red\flows_user-PC.json
2 Oct 22:27:17 - [info] Creating new flow file
2 Oct 22:27:17 - [warn]

---------------------------------------------------------------------
Your flow credentials file is encrypted using a system-generated key.

If the system-generated key is lost for any reason, your credentials
file will not be recoverable, you will have to delete it and re-enter
your credentials.

You should set your own key using the 'credentialSecret' option in
your settings file. Node-RED will then re-encrypt your credentials
file using your chosen key the next time you deploy a change.
---------------------------------------------------------------------

2 Oct 22:27:17 - [info] Server now running at http://127.0.0.1:1880/
2 Oct 22:27:17 - [info] Starting flows
2 Oct 22:27:17 - [info] Started flows
上記の状態になればサーバーが立ち上がっています。
次に、ブラウザから以下へアクセスします。
http://local:1880
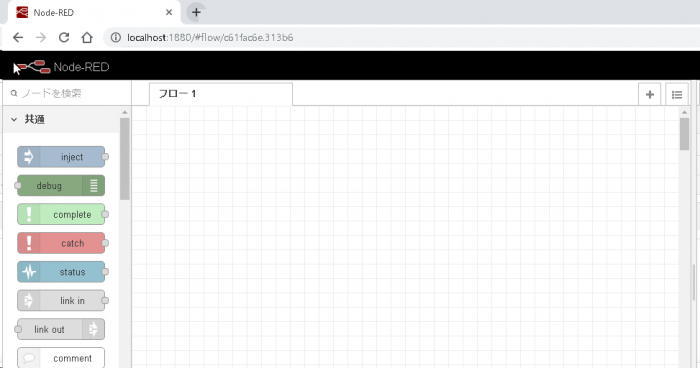
Node-REDの画面が立ち上がれば完了です。
まとめ
node.jsをインストールしたあと、npmコマンドを使用して簡単に導入することができました。今回はURLを叩くとすぐにNode-REDに入れますが、ユーザー認証する機能もあるみたいです。今後試してみたいと思います。