Installation of MySql on ReadyNAS
Overview
MySQL plugin for ReadyNAS is available if your NETGEATR NAS device is connected to online. The following shows how to install MySQL plugin and enable it.
Environment
ReadyNAS 6.10.3
MySQL Server1.0.1 (plugin)
Step1 : Install MySQL plugin
At first let’s open ReadyNAS service from web browser. This page is refence to access it.
After opening ReadyNAS home, select a Available Apps tab.
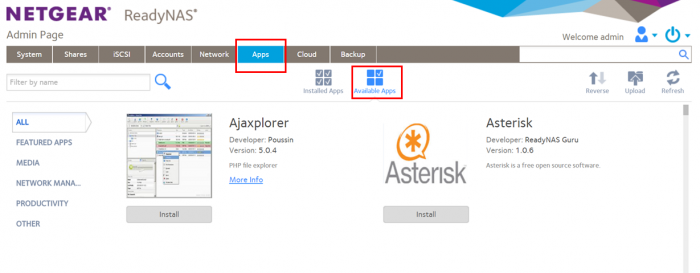
When you input ‘mysql’ into the search box at left side , you can find MySQL server pugin and click install.
Completed installation, then MySql Server shows at Installed Apps list.
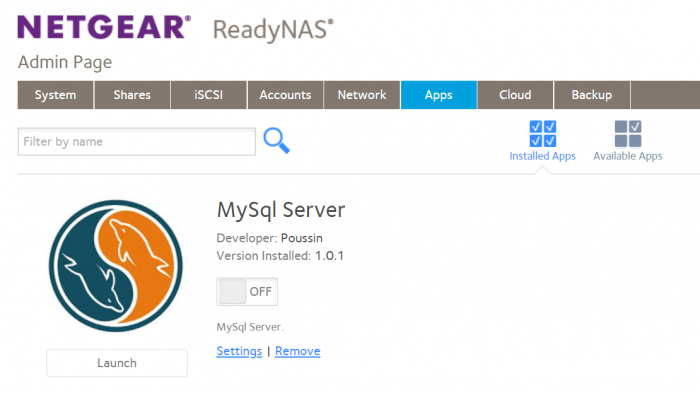
You may find ‘Launch’ button under the MySql Server icon but you don’t have to click it.
Step2 : Checking MySql Server launch.
You can check whether MySql Server is running at ReadyNAS or not by SSH connection like the followings.
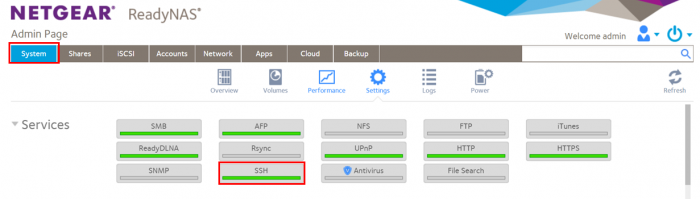
Selecting System and enable SSH, SSH Setting window shows up and you can Enable SSH. In this case, I would like to use password to login to it then also Enabled password authentication.
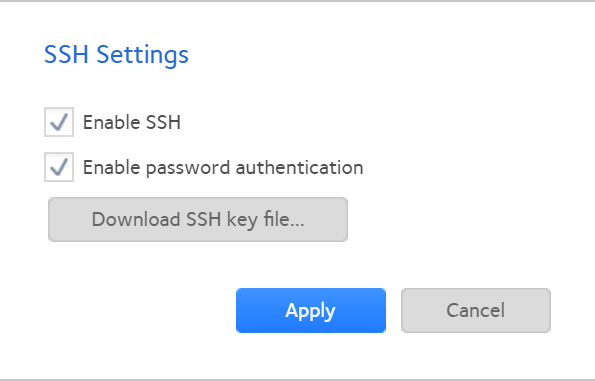
After finishing these setting about SSH, you can connect ReadyNAS via SSH by using a tool like putty. As default, root is available as a login user.
Then , you can find mysql.service is runnig with the following commands.
# systemctl list-units --type=service

...
mysql.service  loaded active exited LSB: Start and stop the mysql database server daemon
...
If there are no mysql.service, launch it with the commands.
# systemctl start mysql.serviceStep3 : Setting for remote access
my.cnf setting
The default my.cnf file allows only localhost connection, so you have to change parameter to allow remote connection. It’s easy just to comment out about bind-address definition.
# vi /etc/mysql/my.cnf# comment out
#bind-address = 127.0.0.1Then restart MySql Server.
# systemctl restart mysqlGRANT user
Next, define user to connect with remote and grant him.
mysql > CREATE USER user IDENTIFIED BY 'password';
mysql > GRANT ALL PRIVILEGES ON *.* TO user@"your_IP" IDENTIFIED BY 'password' WITH GRANT OPTION;
That’s all for installation of MySql and connect it by remote.
Usually MySql Server requires open of firewall but in this case of ReadyNAS there seems no firewall service so not necessary to open it.
Summary
It’s so easy install it by GUI but if you want to access it with remote, you have to configure some files and grant user by using ssh or any other ways. Let’s try it.